Introduction
Decorating your nails with festive designs is a fun and creative way to get into the holiday spirit. With Christmas just around the corner, it’s the perfect time to try out some easy Christmas nail designs. Whether you’re a beginner or an experienced nail artist, this step-by-step guide will help you create stunning Christmas nail art. In this article, we will explore various themes, techniques, and tips to ensure your Christmas nails are the talk of the town.

Gathering Your Supplies
Before diving into the world of Christmas nail designs, it’s important to gather all the necessary supplies. Here’s a list of items you’ll need to create your festive nail art:
- Nail polish in various Christmas-themed colors such as red, green, gold, silver, and white.
- A base coat and top coat to protect your nails and make your design last longer.
- Nail art brushes and dotting tools for intricate designs and details.
- Nail stickers, decals, and rhinestones for added flair.
- Nail polish remover and cotton pads for clean-up.
Choosing Your Christmas Nail Design Theme
The first step in creating your Christmas nail design is to choose a theme. There are numerous options to consider, each offering its own unique charm. Here are a few popular Christmas nail design themes:
Classic Christmas
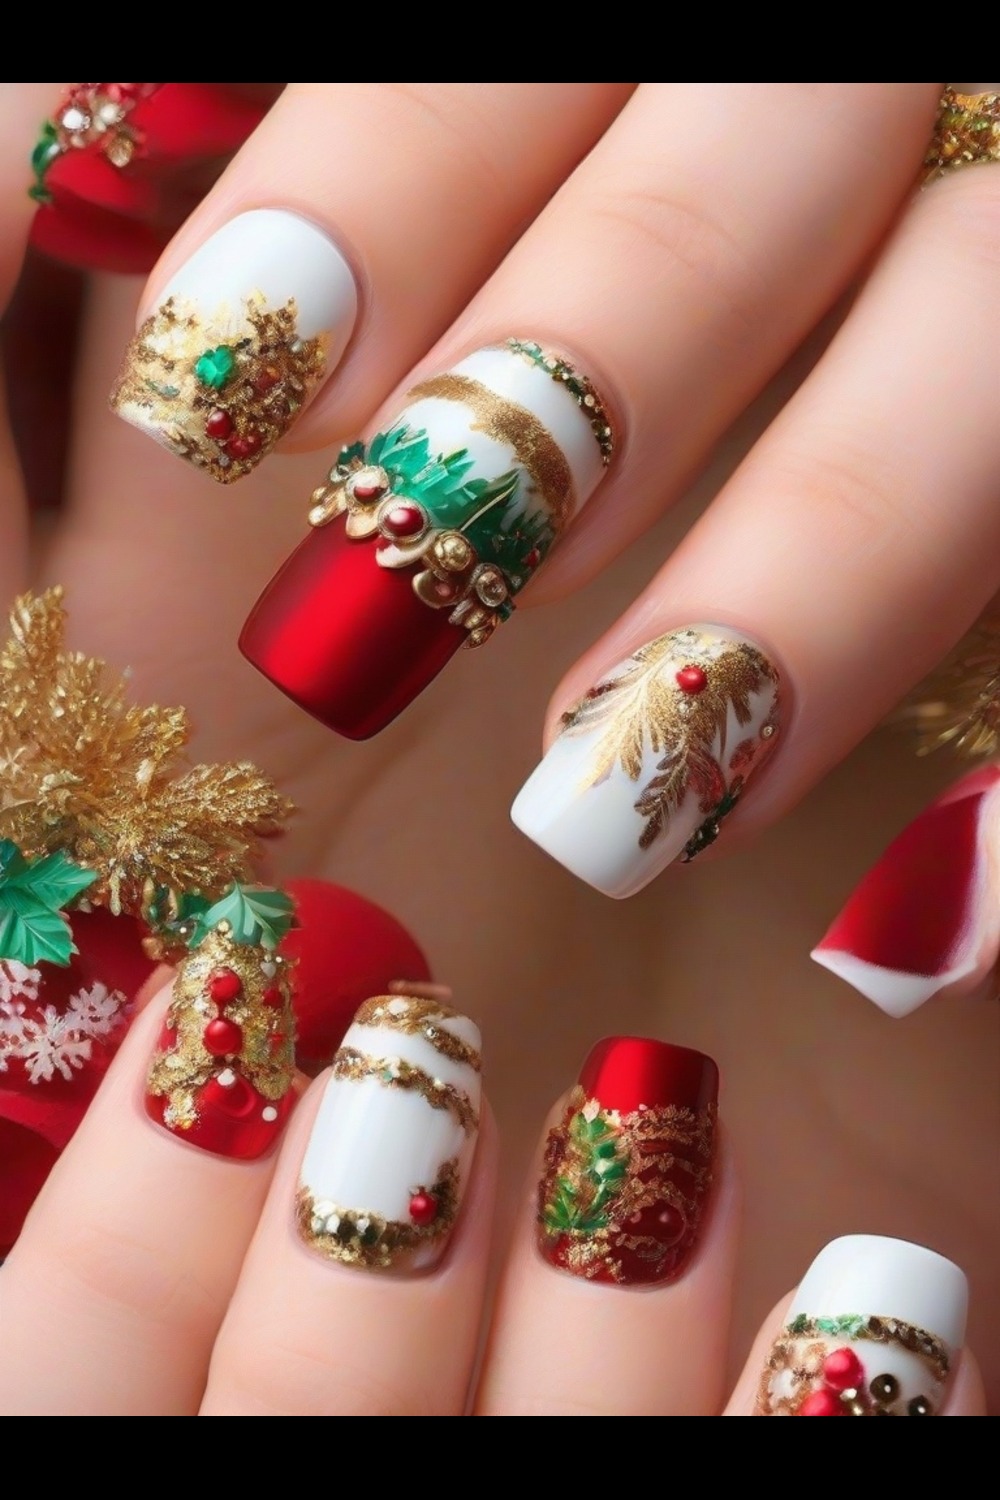
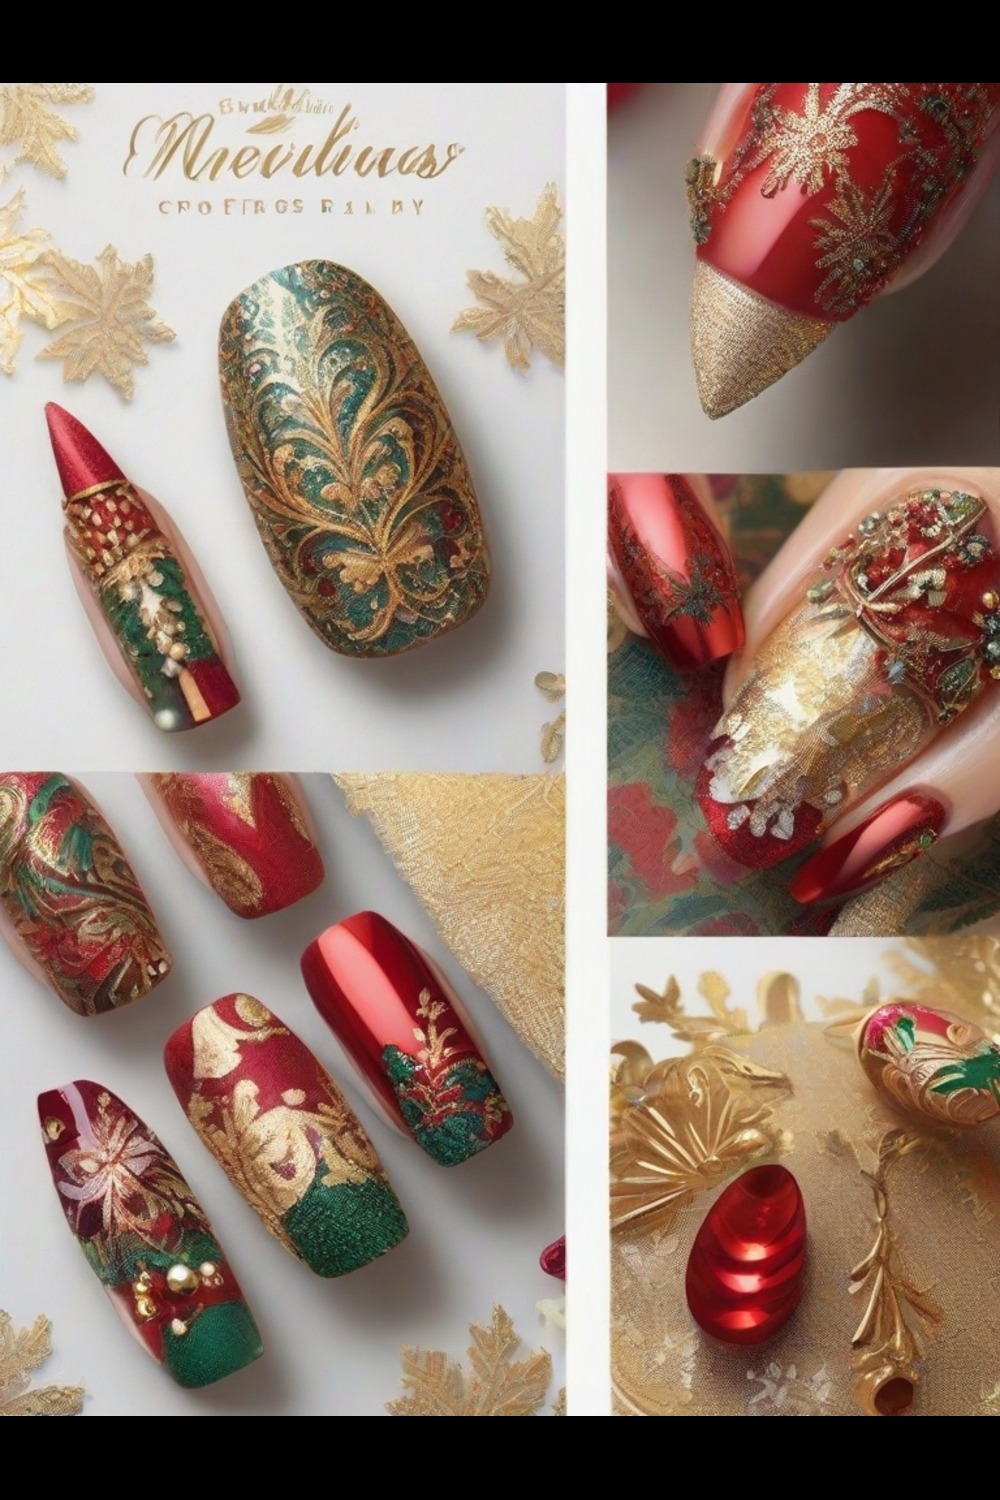
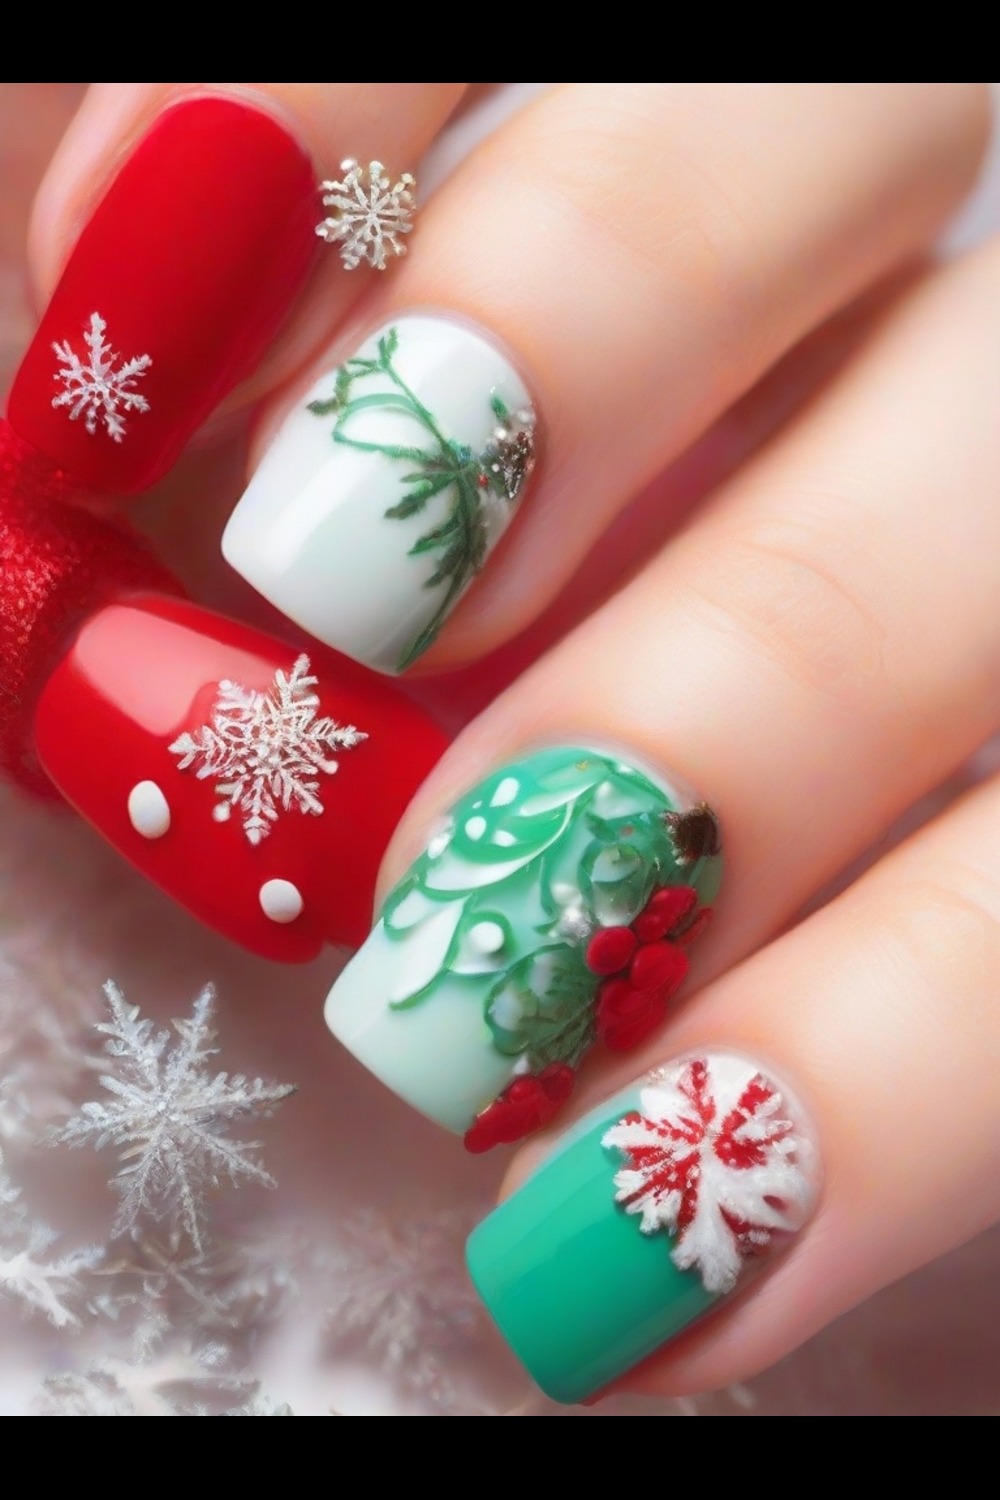
The classic Christmas theme features traditional holiday elements such as Santa Claus, snowflakes, Christmas trees, and candy canes. You can use red, white, and green as your primary colors to create a timeless and festive look.
Winter Wonderland
Embrace the beauty of winter with a winter wonderland theme. Think icy blues, silver glitter, and snowflake patterns. This theme is perfect for those who prefer a more subtle and elegant Christmas nail design.
Festive Glitter
Add some sparkle to your nails with a festive glitter theme. Choose a base color and apply a layer of glitter polish for a dazzling effect. You can also experiment with different glitter shapes and sizes for a unique look.
Cute Christmas Characters
If you’re a fan of cute and playful designs, consider incorporating Christmas characters like Rudolph the Red-Nosed Reindeer, Frosty the Snowman, or gingerbread men into your nail art. These adorable designs are sure to bring a smile to your face.
Preparing Your Nails
Before applying any nail polish or design, it’s important to prepare your nails properly. Follow these steps to ensure a flawless application:
- Remove any existing nail polish using a gentle nail polish remover.
- Trim and shape your nails to your desired length and shape.
- Gently push back your cuticles using a cuticle pusher or a wooden stick.
- Buff the surface of your nails to create a smooth canvas for the polish.
Applying the Base Coat
Applying a base coat is crucial as it helps protect your nails from staining and provides a smooth surface for the nail polish. Follow these steps to apply the base coat:
- Start by applying a thin layer of base coat to each nail.
- Allow the base coat to dry completely before moving on to the next step.
Creating Your Christmas Nail Design
Now comes the fun part – creating your Christmas nail design! Follow the step-by-step instructions below to bring your festive nail art to life:
- Step 1: Choose Your Base Color
Select a base color that complements your chosen Christmas nail design theme. Apply two coats of your chosen polish and allow it to dry completely.
- Step 2: Adding Festive Accents
Using a nail art brush or dotting tool, add festive accents to your nails. For example, if you’ve chosen the classic Christmas theme, you can paint Santa hats, snowflakes, or Christmas trees on your nails.
Pro Tip: If you’re not confident in your freehand skills, you can use nail stickers or decals to achieve intricate designs with ease.
- Step 3: Adding Details and Embellishments
Once the base design is complete, it’s time to add details and embellishments. You can use a fine-tipped brush to add small details like ornaments, bows, or holly berries. To add some extra flair, consider using nail rhinestones or glitter to create a dazzling effect.
- Step 4: Seal the Design with a Top Coat
After you’re satisfied with your Christmas nail design, seal it in with a top coat. The top coat will not only protect your design but also provide a glossy finish. Apply a generous layer of top coat and let it dry completely.
Caring for Your Christmas Nail Design
To ensure your Christmas nail design lasts throughout the holiday season, follow these tips for proper nail care:
- Avoid using your nails as tools to prevent chipping or lifting of the polish.
- Wear gloves when doing household chores or activities that may expose your nails to harsh chemicals or excessive moisture.
- Apply a thin layer of top coat every few days to prolong the life of your Christmas nail design.
- Moisturize your cuticles and nails regularly to keep them healthy and hydrated.
Conclusion
With this step-by-step guide, you’re well-equipped to create stunning Christmas nail designs for beginners. Remember to gather your supplies, choose a theme, and take your time to create your festive nail art. Let your creativity shine and have fun exploring different designs and techniques. Happy holidays and enjoy your beautiful Christmas nails!